Here's a stage-by-stage look at my process for a recent painting I did just for the enjoyment of it.
I tend to find that those are the paintings that flow most easily from the brush!
I tend to find that those are the paintings that flow most easily from the brush!
| Stage 1: The underdrawing. First I rough out the drawing in outline, trying to find out where all the shapes go. Sometimes I use a different colour to the finished piece to help me see the underdrawing when I start to fill in the shading. For example, here I used green. It doesn't matter if a little of this peeps through into the finished work, in fact it can add interest. | 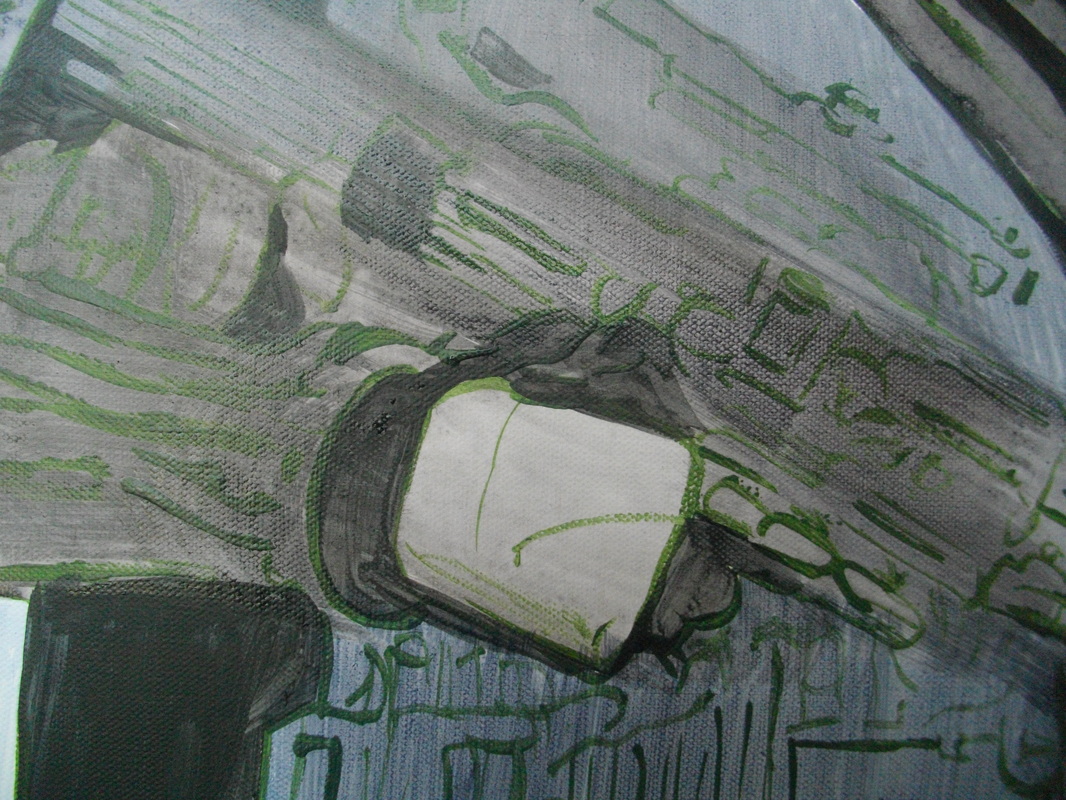 |
| Stage 2: Shading. When I'm happy enough that everything is where it should be, and the subject is in the right place on the canvas, I begin shading in the dark areas and highlighting the bright ones. Now you can really begin to see the shape come together, and its a good time to correct any mistakes you've made up to this point as nothing is too detailed yet. This is also a good time to loosely fill in the background. | 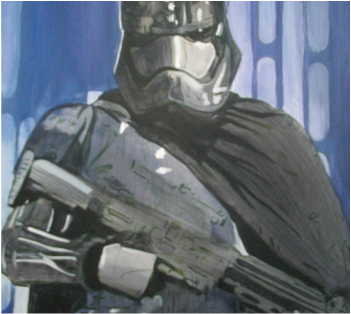 |
| Stage 3: Colour. Often I leave this stage out altogether! For this piece however, the colour was an essential part of what I wanted to convey in the final image and I spent a lot of time trying to find the right mix of purples, blues, and even greens of the reflections on the armour. I tried lots of different washes of purple and blue to get the background just right too. | 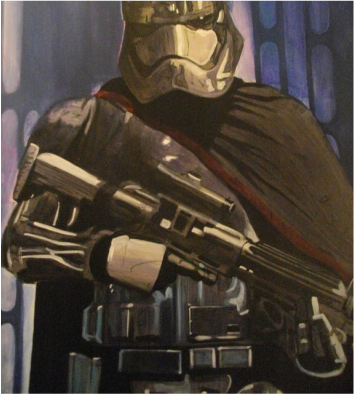 |
| Stage 4: Detail and finish. This is the stage that takes longest and involves the most work, but it's usually the part I enjoy the most! Once the groundwork has been done in terms of finding the shape and colour of everything, I can go over the image and really concentrate on the details and highlights that bring the painting alive. So here it is, the finished piece. 'Captain Phasma' 50cm X 70cm Acrylic on canvas. Available to buy! Hope you enjoyed this! Why not leave a comment and I'll be sure to get back to you or answer any questions. Until next time! Gary. | 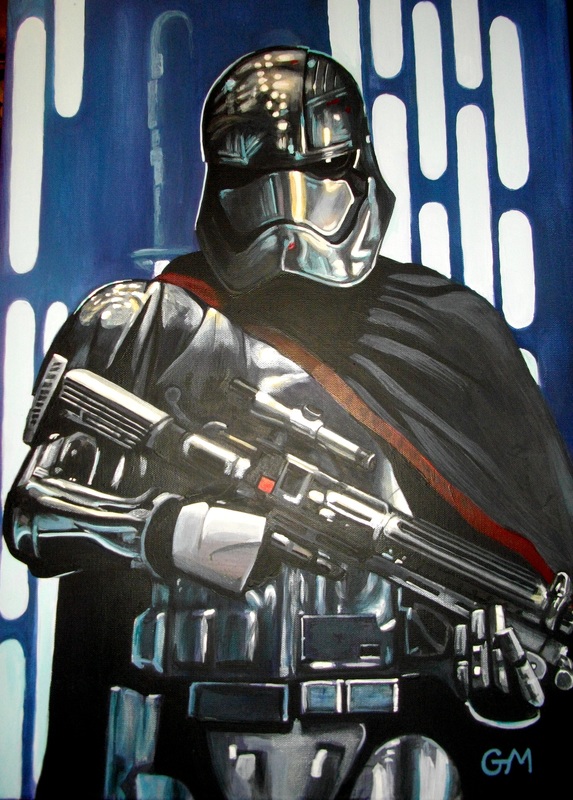 |
 RSS Feed